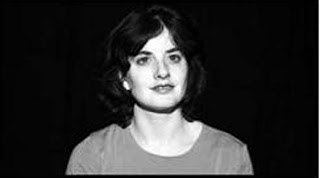
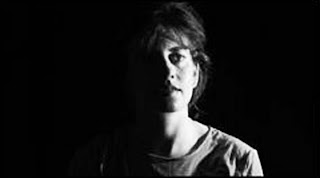
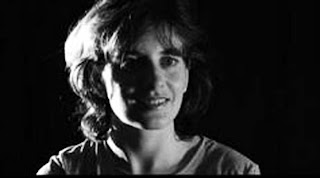
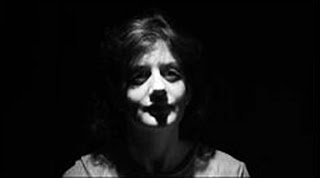
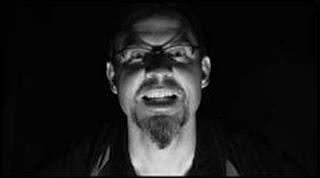
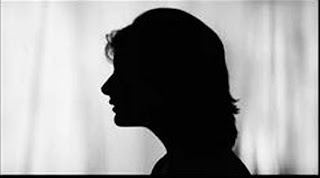
Three lights are used to create the lighting treatment: the key, fill and back lights.
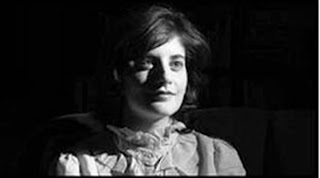
Key light ist that one light source around which you build your lighting scheme. It is usually the main provider of illumination to your film set or location. You „key“ your other lights, their quantity and quality off this main source. The key light may live anywhere around your object. It is traditionally placed 45 degrees (horizontally and vertically) off the axis of the camera’s lens and above the height of the talent’s head. This is normally a spotlight, and it reveals the shape and surface features of the subject. The key light produces harsh shadows.
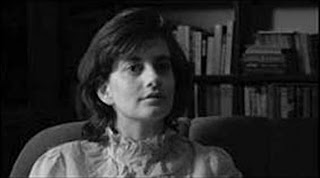
Fill light is a light source used to help control contrast. It „fills in“ the shadows often created by the brighter key light. The physical placement of the fill light is on the opposite side of the subject from the key light. Roughly 45 degrees (horizontally) off lens axis. The fill light also reduces the lighting contrast. The more the key light is offset, the more importance this soft fill light becomes.
Back light ist the light that defines an edge, or halo effect, around the backside of the subject. Because it lives behind
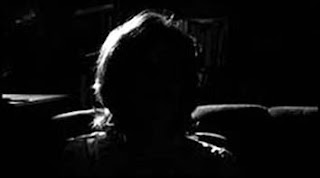 the subject (opposite side of the film set from the camera’s lens) and provides a light „rim“ to the outline of the subject, the back light serves to separte objects from the background and enhamce the illusion of depth within the film frame. The back light emphasizes the shape of the subject.
Three point lighting method is also known as „trinagle lighting“ or „photographic lighting“. The key light and back light may need to be reduced depending on the subject’s hair color. The fill light is usually
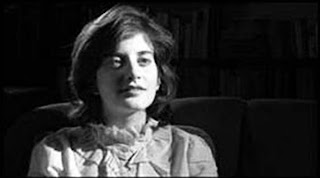
one-half or three-quarters the intensity of the key and back light. Wherever possible, additional lights can be used to illuminate the background behind the subject. But where space or facilities are limited, spill illumination from the key and fill lights may be used to cover the background areas.

